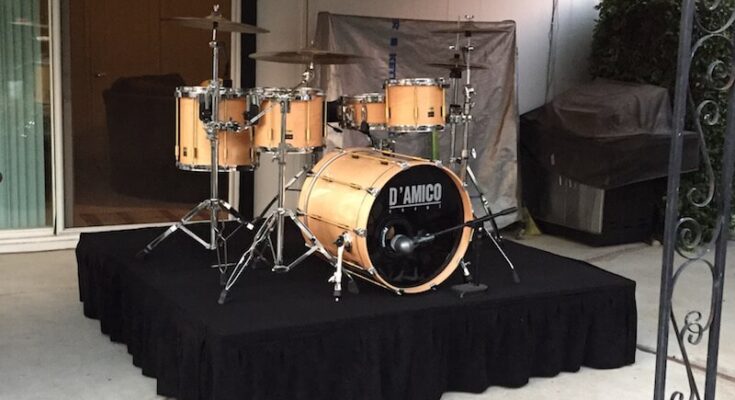
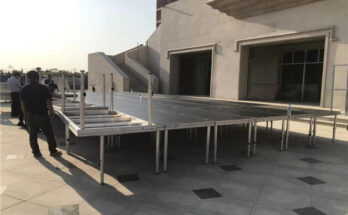
Are you tired of your drum set sinking into the ground during performances? Do you dream of playing on a professionally elevated stage? Well, look no further! In this article, we will guide you through building your very own DIY portable drum riser. With just a few materials and some basic carpentry skills, you can create a sturdy and reliable platform that will elevate your drum set to new heights.
Forget about worrying whether the venue will have a suitable stage for your performance. With this portable drum riser, you can take matters into your own hands and ensure every gig succeeds. No more sinking drums or uneven surfaces distracting you from giving your best performance. So grab your tools and start constructing the ultimate drumming platform that will make you feel like a rockstar wherever you go!
Gathering the Necessary Materials
Now it’s time to gather all the materials you’ll need to create your very own, jaw-dropping drum riser that will leave everyone in awe!
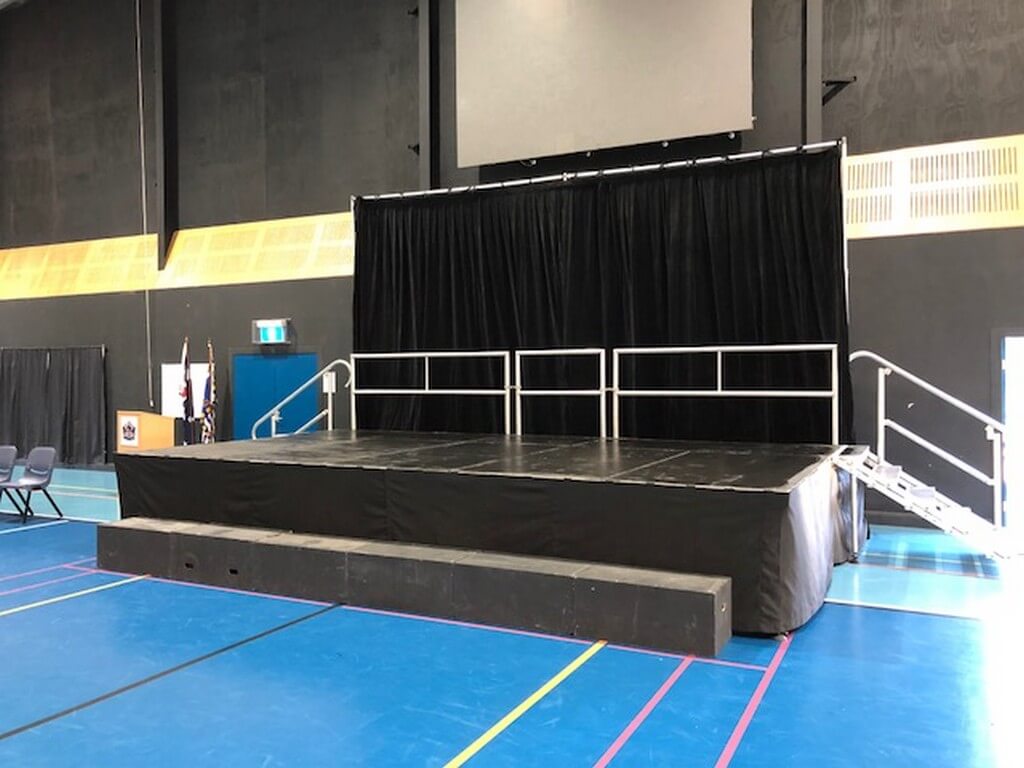
Choosing the right plywood is crucial for a sturdy and durable drum riser. Look for plywood with at least ¾ inch thickness to ensure it can support the weight of your drums and withstand vigorous playing. Additionally, consider finding alternative materials if plywood is not readily available or within your budget. You can explore options like MDF (medium-density fiberboard) or particle board as alternatives. While they may not be as strong as plywood, they can still provide a solid foundation for your drum set.
Measuring and Cutting the Wood
First, you’ll need to grab your measuring tape and start hacking away at that wood like a lumberjack on steroids. Regarding DIY drum risers, precise wood measurements are crucial for a sturdy and level foundation. Use reliable tools such as a measuring tape or square ruler to ensure accuracy. Measure twice, cut once! Now it’s time to cut the wood according to your measurements. Whether you’re using a circular saw or a handsaw, some techniques can help you cut accurately and efficiently. Remember to mark your measurements with a pencil before cutting and use clamps or guides to keep the wood steady. Take your time and make clean cuts for the best results.
Assembling the Frame
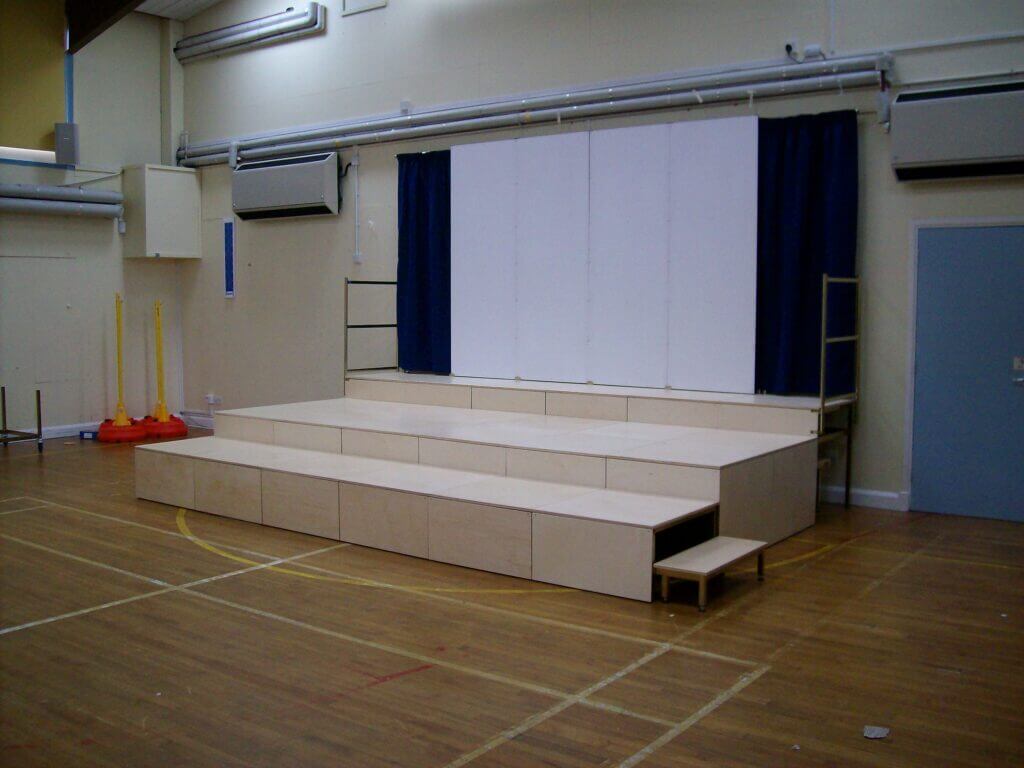
Once you have measured and cut the wood, it’s time to put together the frame. Assembling the frame is a crucial step in creating a stable drum riser. Here are some key points to keep in mind:
- Start by laying out the cut pieces of wood according to your measurements.
- Use screws or nails to attach the sides of the frame to the front and back pieces.
- Make sure everything is square and level before securing each joint.
- Consider adding additional support beams or braces for added stability.
- Don’t forget to leave openings for any customization options you may want, such as cable management or hidden storage compartments.
By carefully following these steps, you can ensure that your drum riser will be sturdy and secure. Plus, with customizable features, you can make it uniquely yours while still maintaining its stability.
Adding Support Braces
To enhance the stability and durability of your project, it’s essential to include support braces during the assembly process. Support braces provide numerous benefits for a drum riser, ensuring that it can withstand the weight and movement of the drums without compromising its structure. These braces distribute the load evenly across the frame, preventing any weak points or potential damage. They also help minimize vibrations and resonance, resulting in a cleaner sound during performances.
When it comes to choosing support braces for your drum riser, there are different types available based on your specific needs. Cross braces are commonly used and offer excellent lateral support by connecting two opposite corners of the frame. Corner brackets are another option that provides additional reinforcement at each corner joint. You can also consider using diagonal support braces that connect opposite corners diagonally to increase overall rigidity.
By incorporating proper support braces into your drum riser design, you’ll create a sturdy and reliable platform for your drum set, enhancing both performance quality and longevity.
Attaching the Plywood Deck
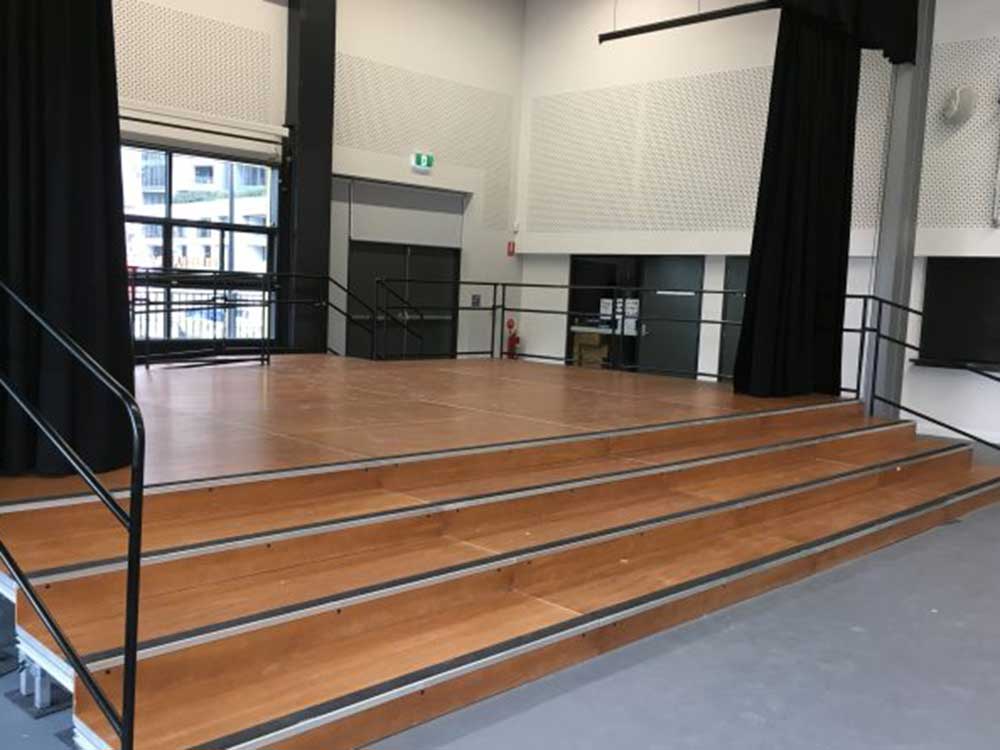
After ensuring the stability and durability of your project with support braces, it’s time to attach the plywood stage deck. Proper plywood attachment techniques are crucial to ensure a secure and long-lasting drum riser. Here are three steps to guide you through the process:
- Begin by placing the plywood deck on top of the support braces, making sure it aligns perfectly with the frame.
- Use screws or nails to fasten the plywood securely to the frame. Make sure to space them evenly along each side for optimal strength and stability.
- To further enhance durability, consider using construction adhesive between the plywood and frame before attaching them together.
While plywood is commonly used for its affordability and strength, alternative materials like MDF (medium-density fiberboard) or particle board can also be used for drum riser decks. Keep in mind that these alternatives may not offer the same level of durability as plywood.
Sanding and Finishing the Riser
In order to achieve a polished and professional look, sanding and finishing the riser is essential. This will transform it into a masterpiece that will elevate your performance. When it comes to sanding techniques, start by using coarse-grit sandpaper to smooth out any rough edges or imperfections on the plywood deck. Gradually move on to finer-grit sandpaper for a smoother finish. Remember to sand in the direction of the wood grain to avoid creating scratches.
Once you have achieved a smooth surface, it’s time to choose the right finish for your drum riser. Consider using a clear varnish or polyurethane for durability and protection against wear and tear. Alternatively, you can opt for stain or paint to add some color and personality. Whichever finish you choose, make sure it complements your overall aesthetic and enhances the visual appeal of your drum riser.
Securing the Legs
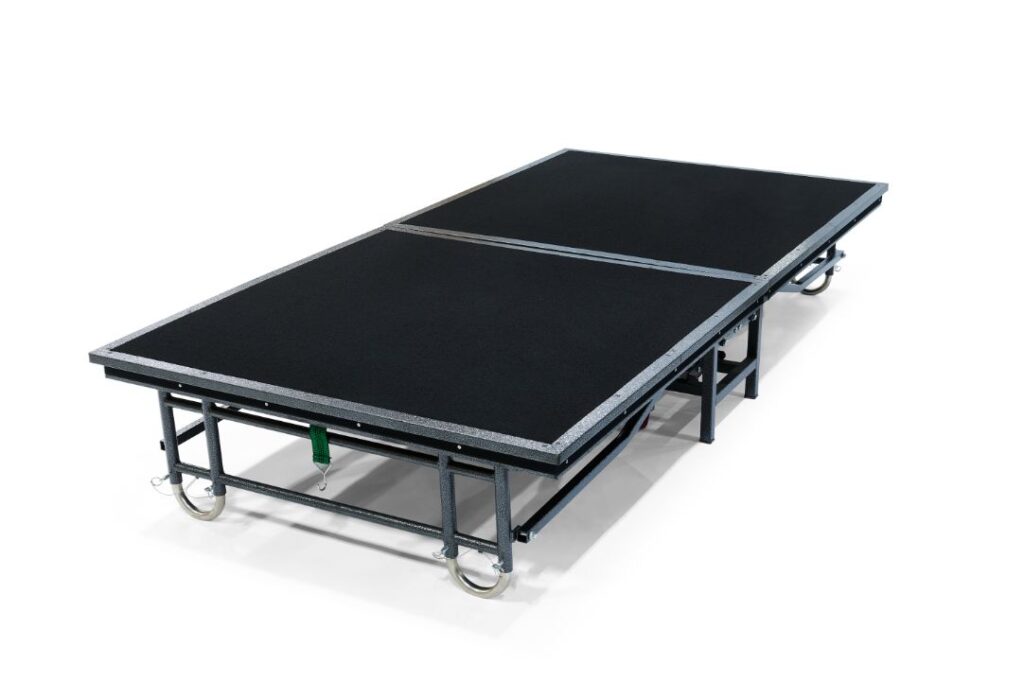
First, firmly attach the legs to ensure stability and prevent any potential accidents during your performance. Proper leg placement is crucial for a sturdy drum riser. Place each leg at the corners of the riser, ensuring equal distance between them for balanced support. Once in position, secure them using appropriate leg fasteners. There are different types of leg fasteners available, such as screws or bolts with washers and nuts. Choose the type that best suits your needs and provides a strong connection between the legs and the riser frame. Make sure to tighten the fasteners securely to avoid any wobbling or shifting during use. By properly securing the legs, you can enjoy a safe and reliable drum riser that enhances your performance experience.
Adding Non-Slip Surface
Now that you have secured the legs of your DIY portable drum riser, it’s time to add a non-slip surface to ensure stability and safety during your drumming sessions. Choosing the right non-slip material is crucial for this step. You want something that will provide enough grip without damaging the flooring underneath. One option is rubber matting, which offers excellent traction and durability. Another choice could be adhesive grip tape, commonly used in sports activities. Once you have selected the material, it’s important to apply it properly. Start by measuring and cutting the material to fit each leg of your drum riser. Then, remove any dirt or debris from the legs before applying the non-slip surface. Make sure each leg is covered completely and securely fastened in place. By taking these steps, you can create a drum riser that not only sounds great but also provides a stable platform for your performances.
| Discussion Ideas | ||
| 1 | Choosing the right non-slip material | |
| 2 | Applying the non-slip surface properly |
Testing and Adjusting the Height
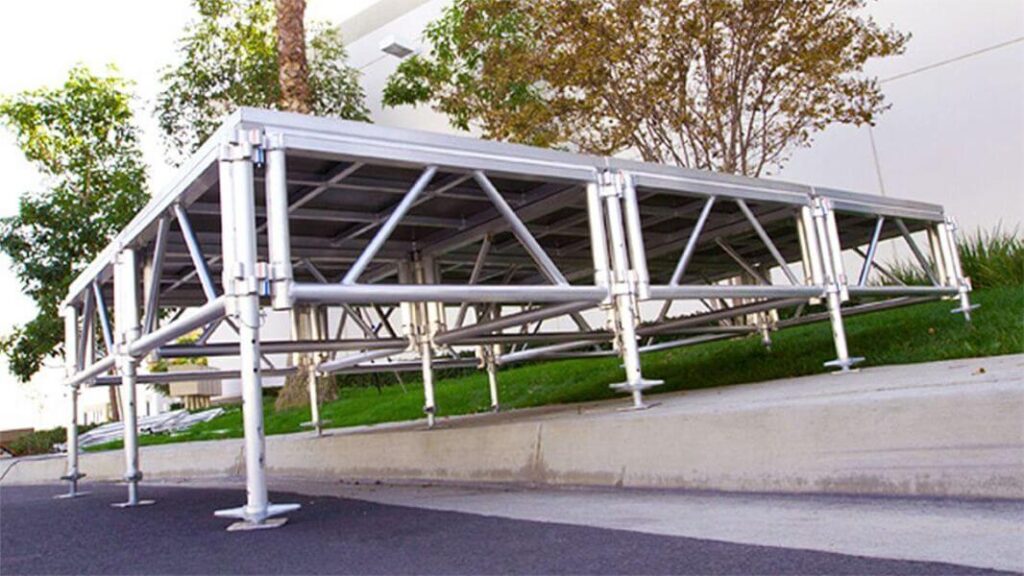
To make sure your drum platform is at the perfect height, it’s time to put it to the test and make any necessary adjustments. Here are a few things you should consider when testing and adjusting the height of your DIY portable drum riser:
- Adjusting Drum Angles: Take a seat behind your drum kit and pay attention to how comfortable you feel. If you find that certain drums or cymbals are too high or too low, adjust their angles accordingly. This will ensure that you can easily reach all parts of your kit.
- Testing Stability: Give your drum riser a good shake from different angles to test its stability. If it wobbles or feels unsteady, add additional support, like bracing or reinforcing the legs. You want a sturdy foundation that won’t let you down during intense playing sessions.
- Fine-tuning Height: Experiment with different heights by sitting on your throne and playing some beats. Pay attention to how it feels and listen for any improvement in sound quality. You might discover that raising or lowering the platform even just a few inches can make a significant difference in comfort and overall performance.
- Final Adjustment: Once you’ve made all necessary changes, go through another round of testing until everything feels just right. Remember, this is about finding what works best for you as an individual drummer.
By following these steps and taking the time to test and adjust the height of your DIY portable drum riser, you’ll create an optimal setup that enhances both your playing experience and sound quality.
Transporting and Storing the Drum Riser
When it comes to transporting and storing your drum platform, you’ll need to consider the size and weight of the components involved. To make things easier, look for folding mechanisms that allow for easy transportation. These mechanisms will enable you to collapse the drum riser into a more compact form, making it much simpler to transport from one location to another.
Creative storage solutions can also help in keeping your drum riser organized and compact when not in use. Consider using storage bins or racks specifically designed for holding drum platforms. These solutions will ensure that your drum riser is safely stored and easily accessible whenever you need it. By incorporating these folding mechanisms and creative storage solutions, you can make transporting and storing your drum riser a breeze.
Frequently Asked Questions
How long does it take to complete the DIY portable drum riser?
Building a sturdy drum riser can be a labor of love, but the benefits are worth it. Elevating your performance improves sound projection and creates a sense of belonging on stage. Follow these tips for success.
Can the drum riser be adjusted to different heights?
Yes, an adjustable drum riser can be set to different heights. This allows you to customize your playing experience and find the perfect level for your comfort and performance. Using a drum riser offers benefits such as improved visibility, better sound projection, and reduced vibrations.
What tools are required to build the drum riser?
You’ll need basic tools like a drill, saw, and measuring tape to construct a drum riser. Also, consult DIY drum riser plans for materials like plywood, screws, and foam padding.
How much weight can the drum riser support?
The maximum weight capacity of a DIY drum riser can vary depending on the materials used and construction techniques. Consider using sturdy plywood, additional support beams, and secure fasteners to reinforce a drum riser for heavier drum sets.
Can the drum riser be easily disassembled and reassembled for transportation?
Transporting the drum riser can be a breeze with these tips and tricks. Consider using DIY drum riser alternatives for portable drumming setups for easy transportation. You’ll have a convenient setup wherever you go!
Conclusion
Congratulations, you’ve successfully built your very own DIY portable drum riser! Following these simple steps and utilizing basic materials has created a sturdy and reliable platform for your drums. With careful measuring, cutting, and assembly, this project allows for easy transportation and convenient storage. Now you can elevate your drumming experience to new heights while impressing others with your craftsmanship. So go ahead, step up onto your newly constructed masterpiece, feel the power beneath your feet, and let the music take control.

